
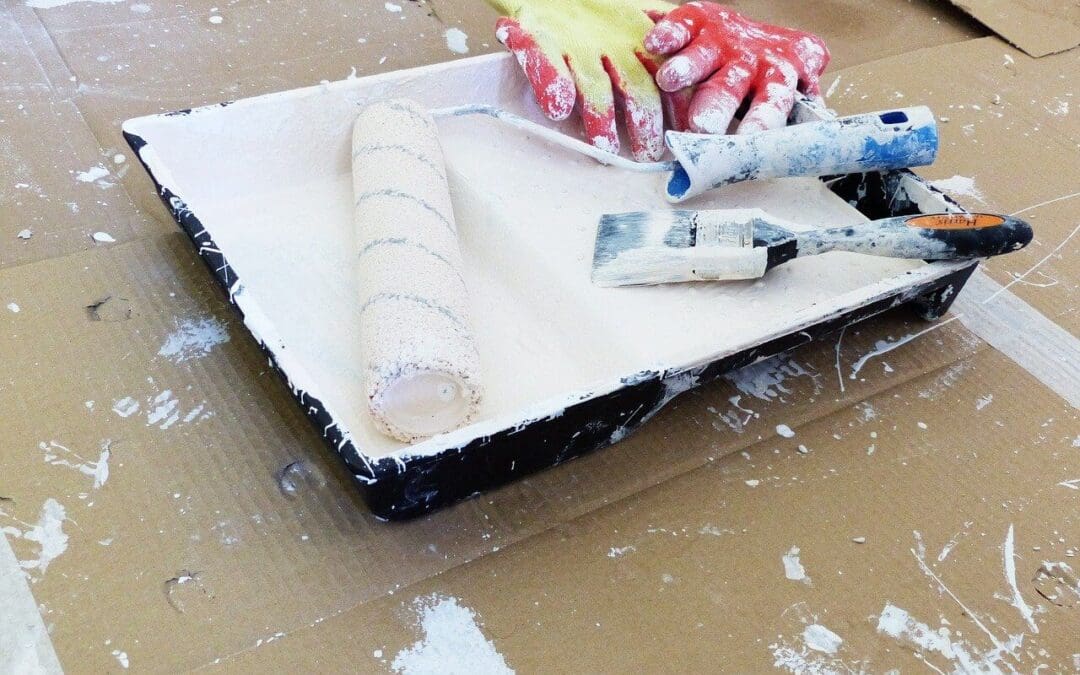
Painting tips that come from professional painters share a common theme: the quality of the result is almost entirely determined by the preparation and the process, not the paint. Most homeowners disappointed with a DIY paint job skipped the steps that professionals never skip. The tips that close the gap between a DIY result and a professional one aren’t complicated or expensive; they’re disciplined. They require patience at the stages where shortcuts are tempting: surface preparation, priming, and proper application technique. The results reward that patience with a finish that looks intentional, holds up over time, and doesn’t require a redo six months later.
The Painting Tips That Start Before You Open A Can of Paint
Surface preparation is where professional results are made or lost, and it’s the stage most DIY painters rush. Walls that haven’t been cleaned, patched, and sanded before paint is applied show every imperfection through the finished coat. Washing walls with a degreasing solution removes the cooking grease, dust, and skin oils that prevent paint from adhering properly, particularly in kitchens and high-traffic hallways. Filling nail holes and dents with lightweight spackle, sanding smooth when dry, and spot-priming those areas before the full coat ensures repairs disappear under paint rather than telegraphing through as dull spots in the finished surface.
The Steps Most Homeowners Skip
A scuff-sand with 120 or 150-grit sandpaper over previously painted walls creates the tooth that helps new paint bond rather than sitting on the surface and peeling over time. Glossy or semi-gloss surfaces require sanding before repainting; new paint applied directly over a high-sheen surface without scuffing has nothing to grip and is significantly more prone to peeling and chipping under normal contact. This is the painting tip that most directly affects how long the finished job lasts, and it adds less than an hour to most room-sized projects.
Taping and Edge Control for Clean Lines
Painter’s tape applied correctly is the tip that most directly affects edge quality. Applied incorrectly, it produces bleed lines that require touch-up after the tape comes off. Pressing the tape edge firmly with a putty knife rather than a finger creates a seal that paint can’t bleed beneath. Removing the tape while the paint is still slightly wet pulls cleanly without lifting the dried paint film at the edge. If the paint has already dried fully, scoring along the tape edge with a utility knife before pulling prevents tearing.
The Painting Tips That Finish the Job Right
Roller nap selection affects the finished surface texture more than most DIYers realize, smooth walls take a 3/8-inch nap, textured surfaces take a 1/2-inch nap. Loading the roller evenly and applying paint in a W or M pattern before filling in eliminates the lap marks an improperly loaded roller leaves behind. Maintaining a wet edge by working in sections prevents the visible seam lines that appear when paint is applied over a dry edge. Cutting in before rolling, painting edges, corners, and trim lines with a quality angled sash brush before the roller covers the field, produces the cleanest transitions. Two coats are almost always required for full coverage regardless of what the label claims, and allowing adequate dry time between them prevents lifting and uneven sheen that compromise the finished result.
Integrity Inspections offers home inspections in Greene County, Tennessee, and surrounding areas. Contact us to schedule your inspection today.
Recent Comments